A room can feel small for reasons that have nothing to do with its floor area. Often the culprit is a single horizontal line: a rod mounted just above the window frame, a hem that stops halfway down the wall, a pair of panels so narrow they look like an afterthought. Curtains are usually the tallest thing in a room. Hung well, they stretch the wall upward and pull daylight deeper into the space. Hung badly, they shrink it — quietly, and without anyone quite knowing why.
The encouraging part is that almost every mistake below can be corrected in an afternoon, and several of them cost nothing but a drill bit and twenty minutes. Here are the seven we see most often, and what to do instead.
1. The rod sits just above the window frame
This is the most common error, and the easiest to recognise once you start looking for it. The window frame feels like the natural boundary, so the rod goes straight above it. But the eye does not read the frame — it reads the fabric. Hanging curtains in that narrow band between glass and ceiling draws a hard line across the wall and makes the window look like a small opening in a large, blank surface.
Move the rod up. As a working rule, mount it at least 10–15 cm above the frame. If your ceiling allows it, go higher still — roughly 5–10 cm below the ceiling, or fit a track directly to the ceiling. The window will appear taller, the wall will read as one continuous plane, and the curtains will do the work of adding height that the architecture may not have. Before you drill, mark the bracket positions with a pencil and check them with a spirit level; sloped rods are surprisingly noticeable.
2. The rod is only as wide as the window
A rod that ends at the frame leaves nowhere for the open curtains to go. They sit over the glass, eating the light you were trying to welcome in, and the room feels dimmer and narrower than it is. The fix is generous width: extend the rod 15–20 cm past the frame on each side, and a little more on a very wide window.
When the curtains are drawn back, the panels should stack over the wall, clear of the glass. That single change does more for the sense of space than almost any other curtain decision, and a longer rod is one of the least expensive items in a decorating budget. If you are choosing between two lengths, take the longer one.
3. The hem floats — or stops dead at the sill
Length is where curtains either look deliberate or look like a mistake. A panel that ends a hand's width above the floor creates a gap the eye cannot ignore, and it cuts the vertical line at exactly the point where it should continue. Sill-length curtains can work, but the hem needs to fall just below the sill rather than rest on it, and the same treatment should run through the whole room.
These are the three lengths that reliably look intentional:
- Just below the sill — best in kitchens and rooms with radiators or furniture beneath the window.
- Floor length — 1–2 cm above the floor, or lightly kissing it. The safest choice in living rooms and bedrooms.
- A slight break — an extra 2–4 cm so the fabric pools just enough to look relaxed.
Measure from the point where the curtain actually hangs — the top of the rod, or the eye of the ring — down to the floor, and take that measurement at three points across the window. Hang the panels for a day or two before you hem them. Fabric drops as it settles, and a hem cut on the first evening is often a hem you will redo.
4. The panels are too thin for the rod
A curtain that hangs flat looks like a bedsheet pinned to a pole. Fullness is what gives fabric its soft, deep folds and makes the window feel dressed rather than covered. Aim for total fabric width of roughly two to two and a half times the width of the rod or track.
Read the packet carefully here. Some widths are quoted per panel, others per pair, and a number that sounds generous can turn out to be half of what you need. Two panels per window is the norm unless the window is very narrow. If the panels you already own are too skimpy, moving them to a smaller window or adding a second pair to a wider rod is far cheaper than replacing everything.
5. The top of the window is buried under fabric
Valances, swags, deep box pelmets, heavy gathered headers — they all add a horizontal band at the top of the window, and every band costs you height. Deep headers also push the fabric forward, so the curtains hang away from the wall and make the window recess look shallower.
Keep the top simple. A slim rod with a clean pleat, a hidden track, or well-set eyelets lets the fabric fall straight from the ceiling line. If you love the look of a pelmet, keep it shallow and pale, and consider running it wall to wall so it reads as part of the architecture rather than as a lid on the window.
6. The curtains are tied back into a tight hourglass
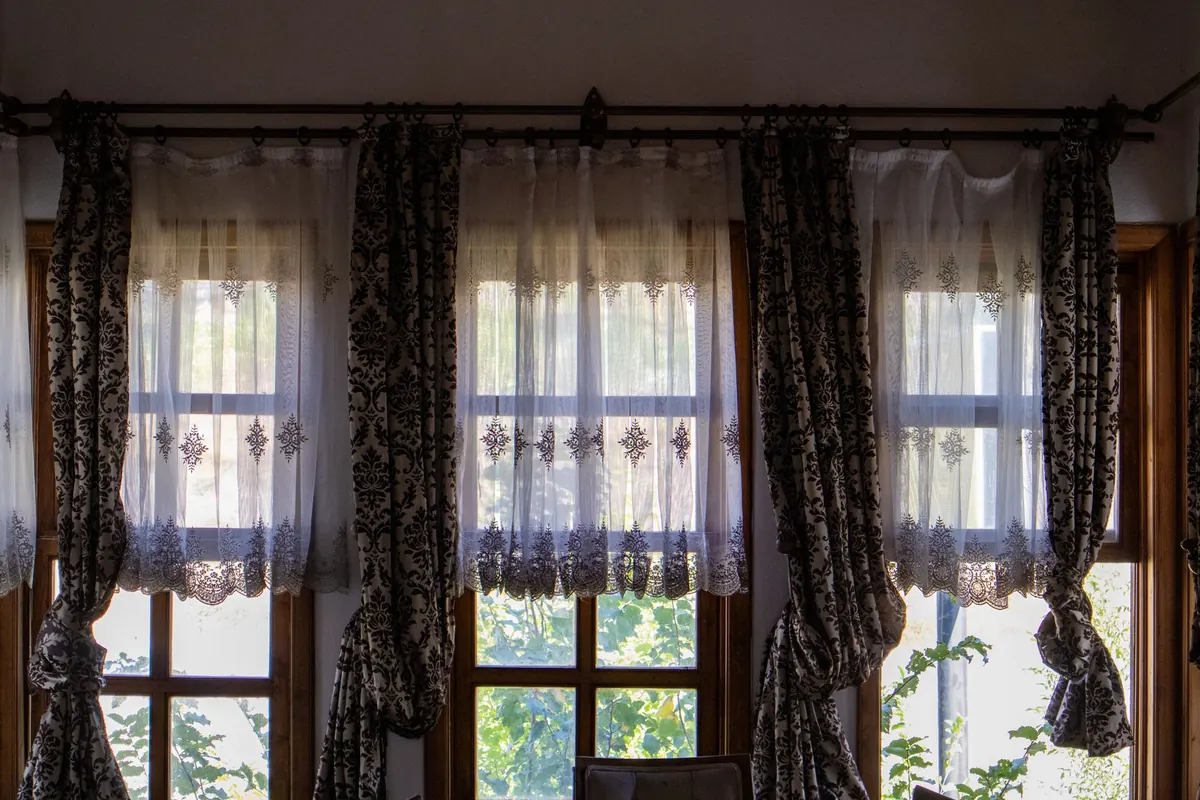
Pulling a panel hard into a narrow waist flatters nothing. It creases the fabric, leaves the top and bottom flaring outward, and often drags the leading edge back across the glass — undoing all the width you gained in step two. If you use holdbacks, fix them close to the outer edge of the rod and gather the fabric loosely, so the folds stay soft.
In most rooms, the simplest improvement is to skip the tieback entirely. Panels hanging straight and slightly open look more generous, let more light through, and keep the vertical lines doing their job.
7. Every window is treated as a separate island
Two windows on the same wall, each with its own short rod, hung at slightly different heights, will make a room feel choppy no matter how good each curtain is. The eye catches the mismatch immediately.
Where the wall allows it, run one long rod or ceiling track across both windows, even though it spans empty plaster between them. The wall becomes a single element, the room reads wider, and the windows stop competing with each other. The same logic applies to a corner: continuing a track around it softens the angle and makes the space feel less boxed in.
A quick check before you drill
Before the first hole goes into the wall, run through this sequence. It takes five minutes and saves a weekend.
- Mark the rod height 10–15 cm above the frame, or 5–10 cm below the ceiling if that is higher and the proportions allow.
- Extend the rod 15–20 cm past each side of the frame.
- Measure from rod to floor at three points across the window, and order or cut to the shortest of them.
- Hang the panels for a day or two before hemming, then re-measure.
- Check the total fabric width is about two to two and a half times the rod width.
- Stand in the doorway, look at the wall rather than the window, and ask whether the curtains make it look taller. If not, adjust before you commit.
The aim is simple: fewer horizontal lines, more uninterrupted wall, and fabric that reaches where it should. Get those three things right and even a modest window in a modest room will feel considerably larger than it is.
Photo: Zülfü Demir📸 / Pexels